Last updated November 22, 2026
 Raised-panel steel
 Carriage house
 Modern flush
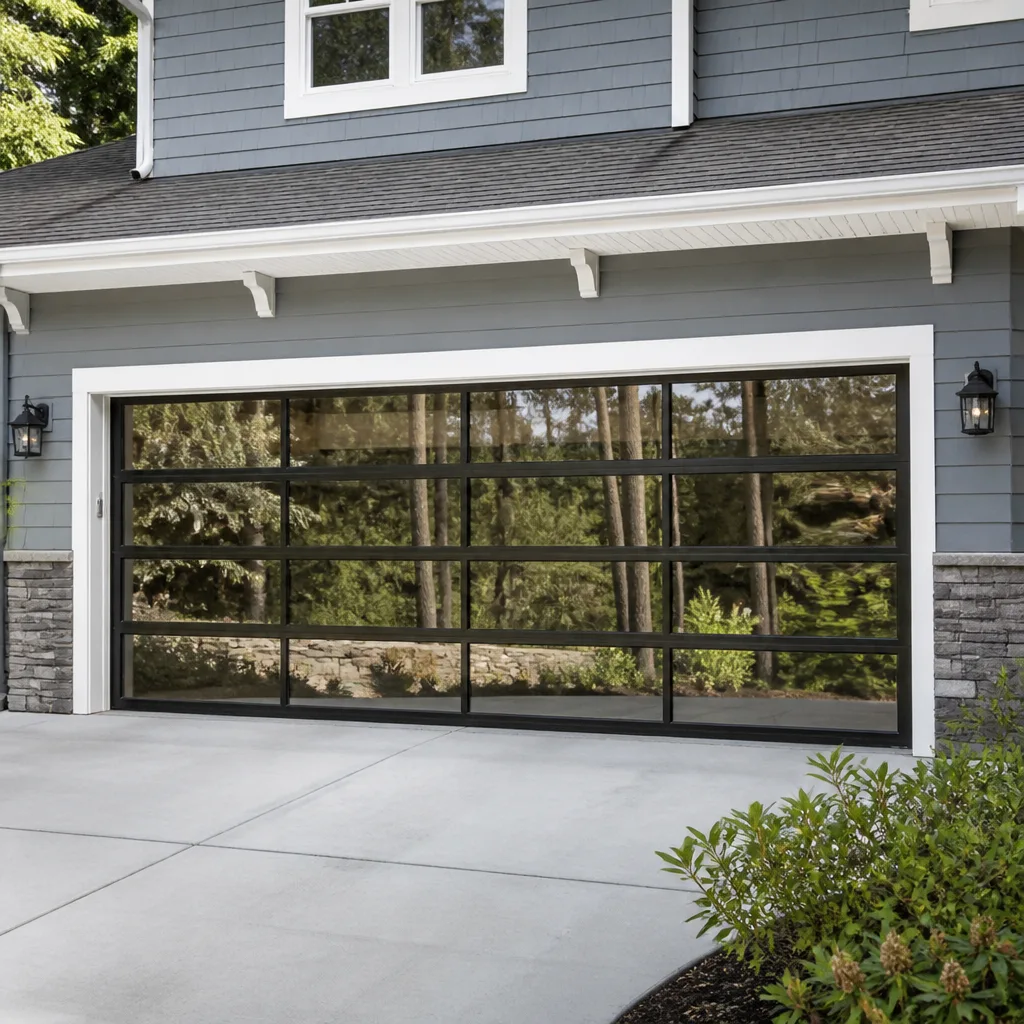 Full-view glass
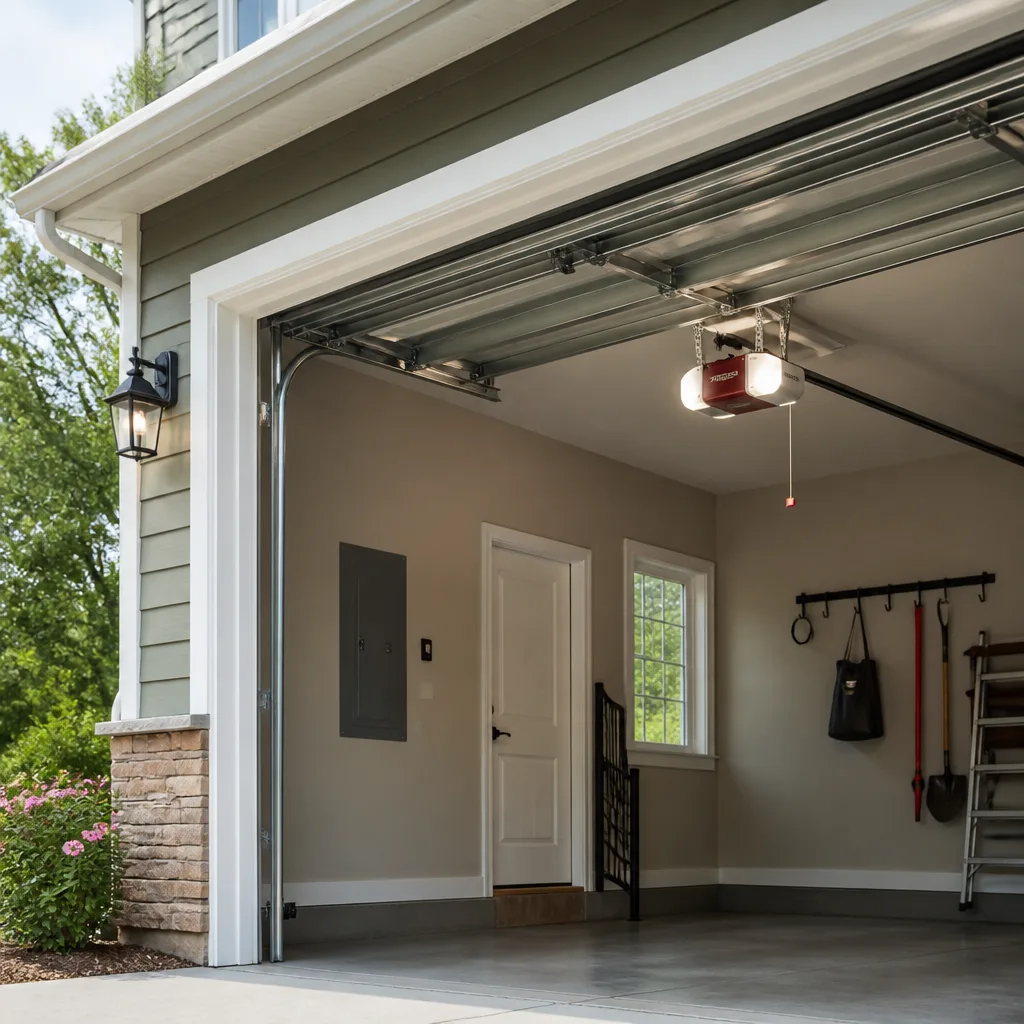 LiftMaster openers
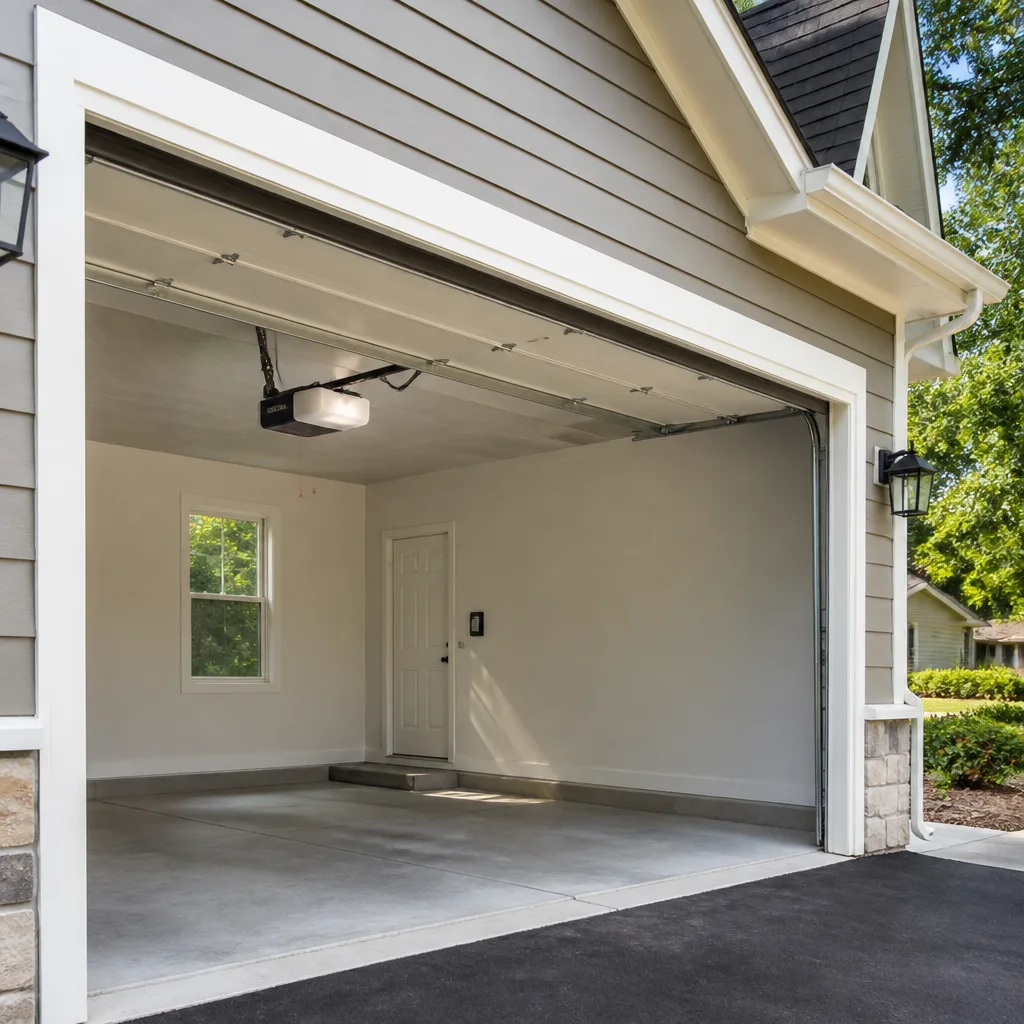 Chamberlain openers
Full 25-point door and opener safety check with every visit - springs, cables, rollers, tracks, and your LiftMaster or Chamberlain opener included
You get a price before we start. It does not change when the pro arrives.
Get your free estimateGarage Door Repair Maintenance Checklist for Alexandria Homeowners
Most garage door maintenance advice starts with the same instruction: lubricate everything. That advice can backfire. If your torsion spring is already showing rust pitting, adding lubricant at that stage can attract grit into the pits and accelerate coil failure rather than prevent it. A checklist only works when it’s timed to the mechanical sequence that actually causes doors to fail – what wears first, what fails next, and what breaks without warning. In Alexandria, that sequence plays out against clay-heavy soil, freeze-thaw winters, and a lot of homes with doors that haven’t been inspected in years. Here’s a checklist built around the failure order, not the calendar.
Quick Answer
A practical garage door maintenance checklist for Alexandria homeowners runs in failure order: visual spring inspection (without touching), cable drum and cable condition, track alignment (which shifts with soil settling), bottom seal and weatherstripping, roller and hinge lubrication with the right product type, and opener force and safety-reverse testing. Springs, cables, and opener electrical components should be inspected but never serviced by homeowners – those require a trained technician. Most of the checklist takes 20 minutes and prevents the two most expensive failures: sudden door drops and opener motor burnouts.
Styles & brands we work with
- Raised-panel steel
- Carriage house
- Modern flush
- Full-view glass
- LiftMaster openers
- Chamberlain openers
Table of Contents
- The Failure Order: Why Generic Checklists Miss the Point
- Spring Inspection Without Touching the Spring
- The Cable Drum Check That Predicts Sudden Drops
- Alexandria’s Clay Soil and Track Alignment
- Weatherstripping and Freeze-Thaw Cycles
- Lubrication: What to Use and What to Never Touch
- Opener Force, Safety Reverse, and Electrical Limits
- A Seasonal Rhythm for Alexandria Doors
The Failure Order: Why Generic Checklists Miss the Point
Garage doors don’t fail in quarters. They fail in sequence. A spring weakens, the opener compensates, the opener motor runs hotter, the door’s travel speed changes, the bottom seal drags on one side, and eventually something gives. Every generic quarterly checklist treats these as independent items. They aren’t. They’re a chain.
Here’s the actual order of failure we look for on garage doors in Alexandria:
- Spring fatigue or rust pitting – the counterbalance weakens first, and the opener starts doing work it wasn’t designed to do.
- Opener strain – a LiftMaster, Chamberlain, or Genie opener pulling against a weakened spring runs longer and hotter on every cycle.
- Cable tension shift – as the spring’s geometry changes, cables lose even tension and the door starts to drop on one side.
- Track misalignment – the door rides off-center and the rollers take on uneven wear.
- Bottom seal failure – a misaligned door pinches the seal on one side, and freeze-thaw cycles finish the job.
- Structural fatigue – hinges, rollers, and panel joints fail from the accumulated stress of everything above.
If you check the door in that order, you catch problems before they compound. If you check it in reverse – which is what most lists do – you’re inspecting the last thing to break while the first thing to break quietly worsens. Alexandria Garage Door Repair Pros works on garage doors only, which is why we read the system as a chain rather than a list.
The practical upshot: a spring showing early fatigue in October is worth flagging long before it fails. A cable drum that’s slightly out of tension in spring is worth adjusting before summer heat expands the door panels and stresses the alignment further. That’s the timing logic this checklist is built on.
Spring Inspection Without Touching the Spring
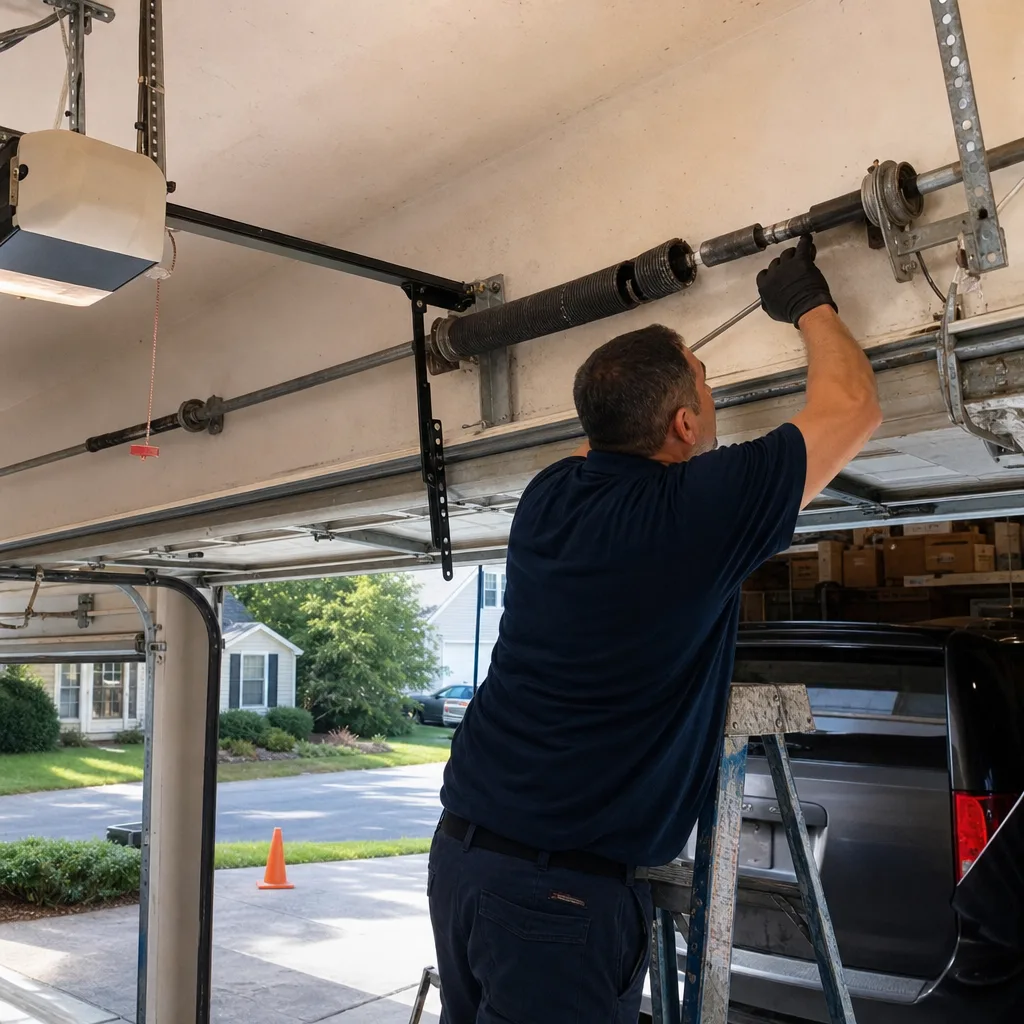
Torsion and extension springs are under extreme tension. They can cause serious injury if handled without the right tools and training. Never adjust, wind, unwind, or remove a spring. The point of a homeowner spring inspection is purely visual – read the surface, don’t touch the assembly.
What Rust Staging Actually Looks Like
Rust on a spring is not a single condition. It progresses through stages, and each stage means something different for the spring’s remaining life.
- Stage 1 – surface haze: a light orange film, usually on oil-tempered springs after a humid stretch. Cosmetic. Light oil is fine here.
- Stage 2 – pitting: small raised rust nodules that feel granular if you run a gloved finger near (not on) the coil. Pitting creates stress risers along the coil. This is the stage where adding lubricant is the wrong move – it traps abrasive grit in the pits and accelerates crack initiation.
- Stage 3 – flaking: rust scale that lifts away from the steel. The spring’s cross-section is already reduced. Failure is a matter of cycles, not years.
- Stage 4 – visible gap or bow: the coil has begun separating or the spring has lost its straight line. This is an immediate call-a-technician condition.
Torsion vs. Extension Springs
Torsion springs sit on a shaft above the door and fail with a single loud crack. Extension springs run alongside the tracks and fail with a violent snap – and unlike torsion systems, they should always have a safety containment cable running through the center. If you can see an extension spring in an Alexandria home with no cable running through it, that’s a safety gap worth correcting, not a maintenance item.
Neither spring type should ever be lubricated at Stage 2 or beyond. Clean and dry is safer than lubricated and grit-loaded. When in doubt, have a specialist look – garage door repair starts with an honest spring assessment, not a default replacement.
The Cable Drum Check That Predicts Sudden Drops
The cable drums are the two spools at the top corners of the door, one on each end of the torsion shaft. Most homeowners never look at them. They’re the single best predictor of a sudden door drop.
Here’s the mechanic: the lift cables wind onto the drums as the door closes and unwind as it opens. When the drum slips, the cable spools unevenly, and one side of the door drops faster than the other. If that slip goes unnoticed long enough, either the cable jumps the drum entirely (the door free-falls on one side) or the cable snaps at the fitting. Both are sudden. Both are preventable with a visual check.
How to Check Without Winding or Adjusting Anything
- With the door fully closed, stand back and sight along the horizontal tracks. Both sides should sit at the same height relative to the door panels.
- Look at each cable drum. The cable should be wound in even, side-by-side wraps with no overlaps, no gaps, and no slack visible at the drum edge.
- Look at each cable where it meets the bottom bracket. Frayed strands, “birdcaging,” or a kink are signs the cable is failing.
- Open and close the door once from the wall button only – never by hand if you suspect a cable issue. Watch for one side lagging or a door that hangs visibly crooked at the halfway point.
If any of those checks show a problem, stop cycling the door and call. A cable under load is a serious hazard and not a homeowner repair. A Raynor or Clopay door with an uneven drum is on the clock – every cycle tightens the risk. In our experience, this five-minute inspection catches the majority of the sudden drops before they happen.
Alexandria’s Clay Soil and Track Alignment
Alexandria sits on clay-heavy soil. Clay expands when wet and contracts when dry. That movement is slow but it’s cumulative, and garage floors feel it. A slab that was dead-level when it was poured can shift by fractions of an inch over several seasonal wet-dry cycles, and that’s enough to throw the door’s vertical tracks out of true.
When the tracks lean, the door no longer hangs square. It sways on the way up and drags on one side on the way down. The rollers wear unevenly, the opener works harder, and the bottom seal pinches.
How to Detect It in the Track
- Sight along the track: with the door closed, kneel at the bottom of each vertical track and look up. A track that curves or leans inward toward the door is out of plumb.
- Check the gap: measure the gap between the door edge and each vertical track at the top and again at the bottom. The gap should be even. If it’s wider at the top than the bottom (or the reverse), the track has shifted.
- Listen for scraping: a single roller scraping on one side during travel is often a track symptom, not a roller problem.
- Watch the bottom seal: an unevenly seated bottom seal against the floor, worse after a wet spring, is often a slab-settling signal.
Track adjustment itself is a straightforward service call – the tracks get re-plumbed and shimmed, and the door rides square again. What you don’t want to do is take a hammer to the track yourself. Bending a track back into shape by eye usually introduces a new misalignment further up. When in doubt, our team handles garage door repair across Alexandria neighborhoods on a same-day basis when the door is unsafe to cycle.
Weatherstripping and Freeze-Thaw Cycles
Alexandria’s winters swing above and below freezing within days, sometimes within hours. That freeze-thaw rhythm is hard on bottom seals. Water gets into a small crack in the rubber, freezes overnight, expands, and widens the crack – then thaws, refreezes, and repeats. Milder climates don’t put seals through that stress on the same cadence, which is why Alexandria doors often need bottom seal inspection more frequently than the generic checklist implies.
What to Check on the Bottom Seal
- Run a hand along the seal: cracks, splits, or flaking rubber are Stage 1 of seal failure. Catchable before it starts letting water in.
- Press the seal against the floor: with the door closed, the seal should compress evenly across its full width. If it lifts in one spot, the door is misaligned, not the seal.
- Look at the ends of the seal: cracks begin at the ends more often than the middle, because that’s where the seal is stretched tightest.
- Check the sides and top too: side jambs and top seals take on water differently, but they fail in the same freeze-thaw pattern.
Replacing a bottom seal is a homeowner-level job on most doors – measure the width, buy a matched replacement, and slide it in. If the door has an unusual profile or the retainer is damaged, that’s a specialist call. The point is to catch it before the freeze-thaw cycle turns a $30 seal replacement into a door alignment problem.
Lubrication: What to Use and What to Never Touch
“Use lubricant” is the least useful instruction on any garage door checklist. The correct product depends on the component, and the wrong product on the wrong part can cause real damage. Here’s the breakdown we use.
What to Lubricate – and With What
- Rollers: a silicone spray on the roller bearings and the shaft of each hinge pin. Not lithium grease here – grease attracts dust from the track.
- Hinges: a light white lithium grease on the pivot points. Wipe off excess so grit doesn’t collect.
- Track (inner surface only): a light silicone spray is enough. Never use grease on the track – it collects road dust and clogs the roller path.
- Opener chain or screw (if the opener uses one): the manufacturer’s specified lubricant. For a LiftMaster or Chamberlain chain-drive, that’s generally a low-viscosity chain oil, not a spray grease.
What to Never Lubricate
- Torsion or extension springs showing pitting: as covered above, lubricant traps grit in the pits and worsens the risk.
- Cables: lubricating a cable can mask the fraying you’d otherwise see. Leave them ungreased and inspect them dry.
- Photo-eye lenses: a technician or homeowner wiping the lenses with lubricated cloths blurs the optics and disables the safety reverse. Clean with a dry cloth only.
- Weatherstripping and bottom seal: silicone can migrate onto the rubber and soften it. Keep lubes off all seals.
- Opener gear housing: some openers come factory-sealed. Opening them to add lubricant voids the seal and voids the warranty on Genie and Chamberlain units.
The right frequency is roughly once or twice a year, depending on exposure. If your door is on the sunny side of the house in Alexandria, add one extra lubrication around mid-summer, when the panels expand and the roller pressure is highest.
Opener Force, Safety Reverse, and Electrical Limits
The opener’s safety-reverse test is the single most important check on the door, and it takes 30 seconds. The door is required to reverse when it meets an obstruction on the close cycle; if it doesn’t, that’s a stop-using-the-door condition until it’s fixed.
How to Test the Safety Reverse
- Place a flat object about two inches thick (a 2×4 works) on the floor in the middle of the doorway.
- Close the door using the wall button.
- When the door touches the object, it should reverse and return fully open. If it stops, presses, or requires more force than a light contact, the force limit is set too high or the photo-eye is misaligned.
- Check the photo-eyes separately: wave an arm across the beam while the door is closing. It should reverse immediately.
What We Won’t Do (and What You Shouldn’t)
Opener wiring, capacitor replacement, and logic board work are electrical jobs. Old openers can hold residual charge even after the breaker is off. If your Chamberlain or Genie opener is tripping a breaker, flashing a specific error code, or failing the safety reverse repeatedly even after an obstruction-clear, that’s a diagnostic call, not a DIY fix. Our garage door opener repair team can trace whether the fault is the opener, the photo-eye alignment, or the force setting.
One other safety item: if your home has a garage door opener installed before the mid-1990s and no photo-eye sensor, the door is running without the modern reverse standard. That’s a safety gap, not a maintenance item, and it’s worth addressing before anything else on this checklist.
A Seasonal Rhythm for Alexandria Doors
Alexandria has four distinct seasons and each one stresses the door differently. Instead of quarterly checklists, sync the inspections to the season and the specific failure that season will expose.
- Early spring (after the last freeze): inspect the bottom seal and side jambs for freeze-thaw cracks from winter. Check the tracks for alignment shift after a wet winter – clay soil is at its loosest.
- Late spring (before summer heat): sight-check the cable drums and spring surface, since heat expansion puts extra strain on alignment. Lubricate rollers and hinges.
- Late summer: re-test the safety reverse. Heat can cause photo-eye lenses to fog or shift; the door’s travel speed also changes as panels expand.
- Late fall (before the first freeze): test the safety reverse again, check the seal compression, and clear any debris from the tracks. This is the most valuable single inspection of the year for Alexandria.
If you’re planning a garage door installation in Alexandria, ask the installing technician for the specific maintenance schedule for the new door’s spring system – torsion and extension systems want different rhythms, and a Raynor or Amarr door may have its own manufacturer maintenance notes.
Common Mistakes to Avoid
- Lubricating springs that are already pitted. This is the mistake most checklists actively encourage. If you see rust nodules, stop lubricating and have the spring assessed.
- Adjusting the track by eye with a hammer. Bending the track to fix a lean usually introduces a second misalignment up the mechanism. A track that’s out of plumb needs to be re-shimmed, not hit.
- Using grease on the tracks and rollers. Grease is a grit trap. Silicone spray is the right product for these; grease is correct only on hinge pivots.
- Skipping the safety-reverse test. It takes 30 seconds and covers the one failure that can genuinely hurt someone. Do it every season in Alexandria.
- Assuming a sticking door means the opener is failing. A sticking door is usually a track or spring problem. Replacing the opener without fixing the cause just wears out the new opener faster.
- Ignoring bottom seal cracks through the winter. One cracked seal in a freeze-thaw winter becomes a misaligned door by spring on doors with significant slab settling.
- Pulling the manual release during a power failure without checking the spring. If the spring is already weak, the door may not stay up on the manual release and can drop. Confirm the spring’s condition before disengaging the operator.
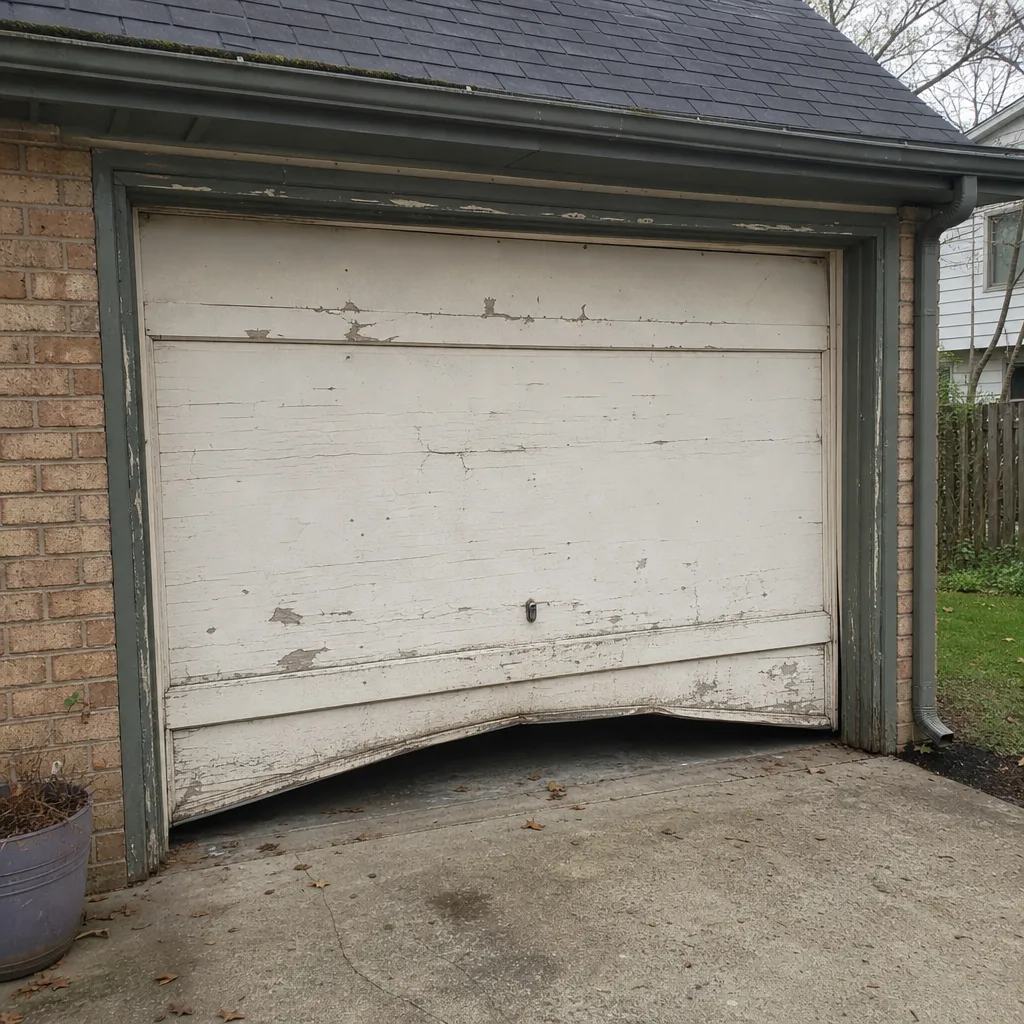
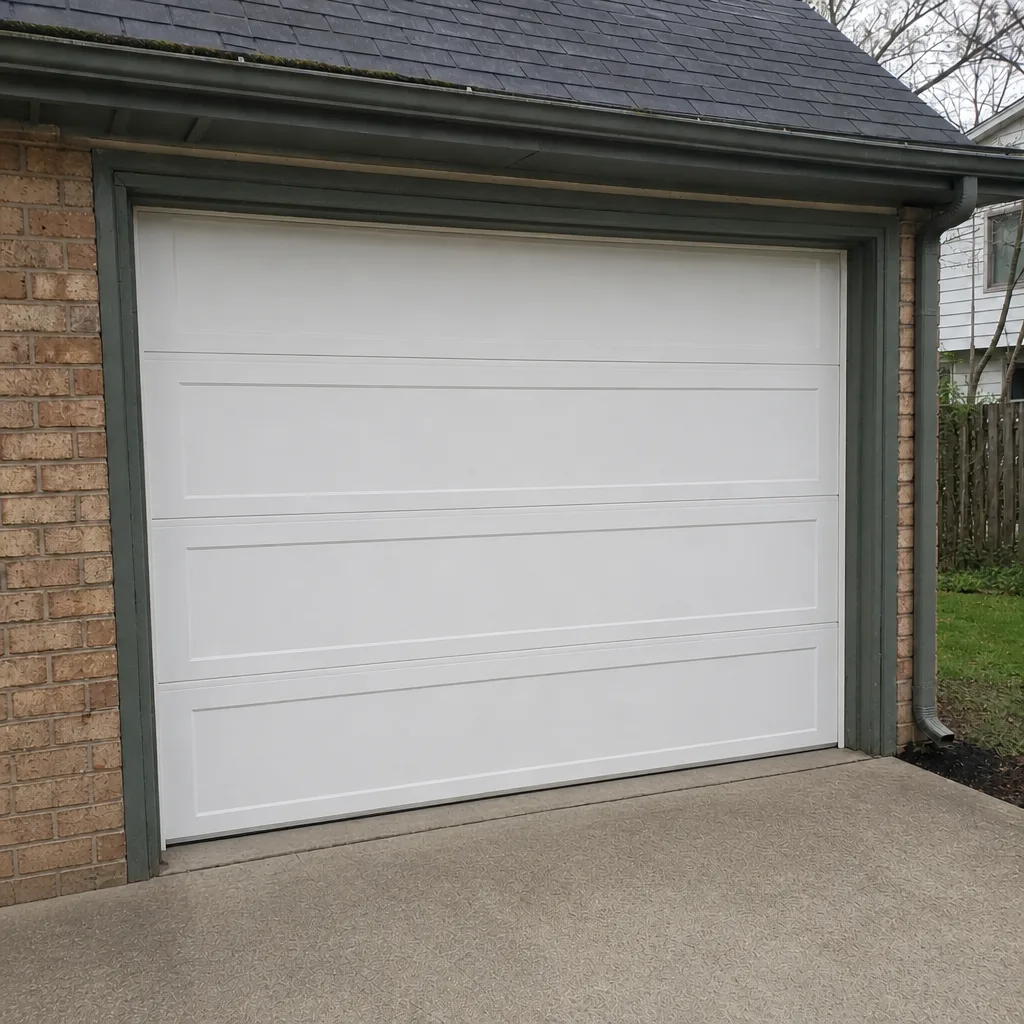
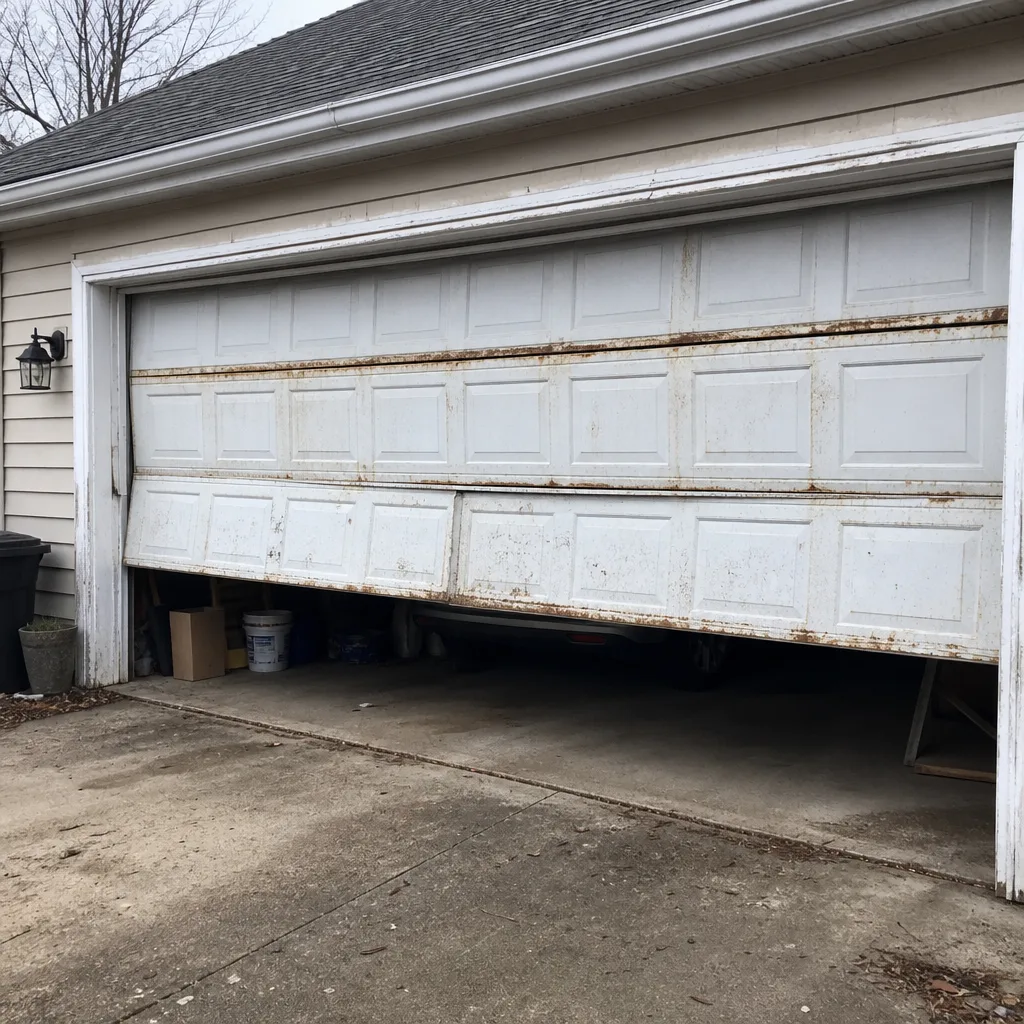
See the difference
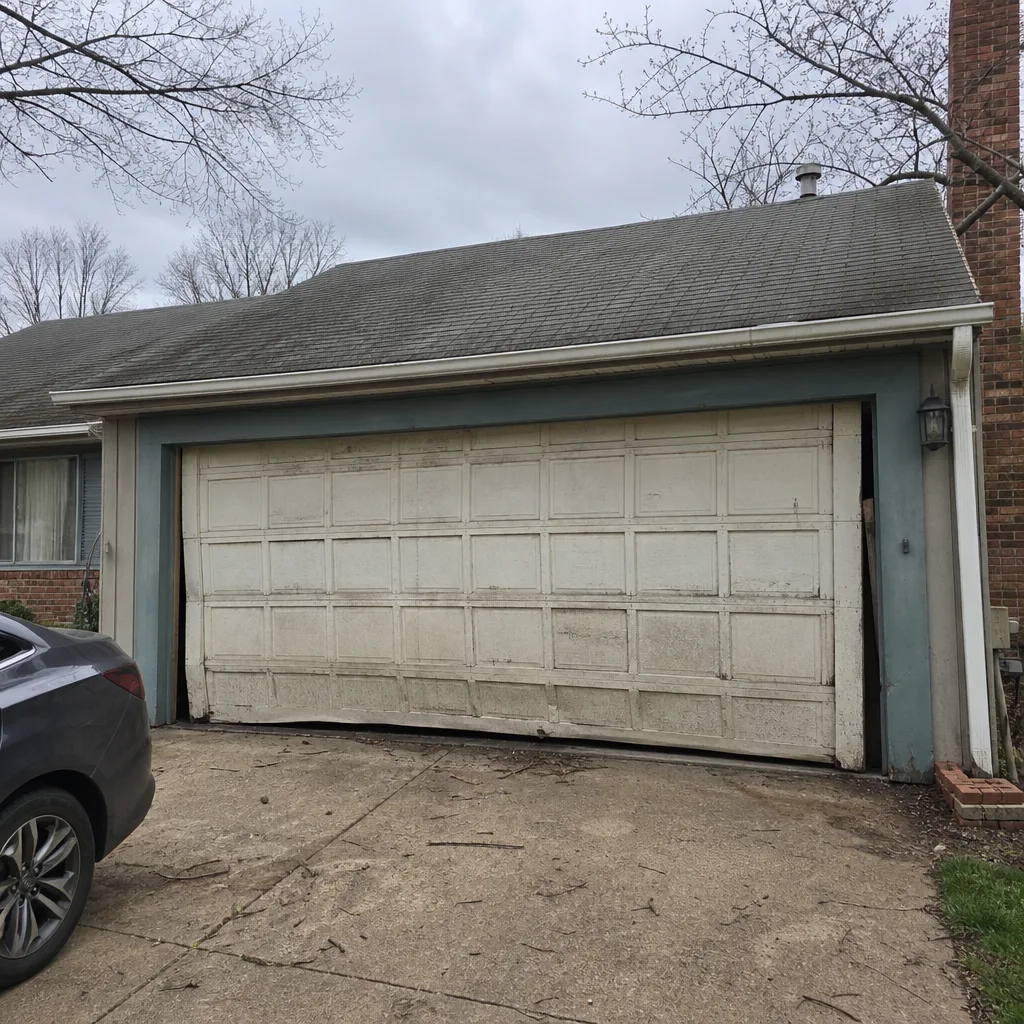 Before
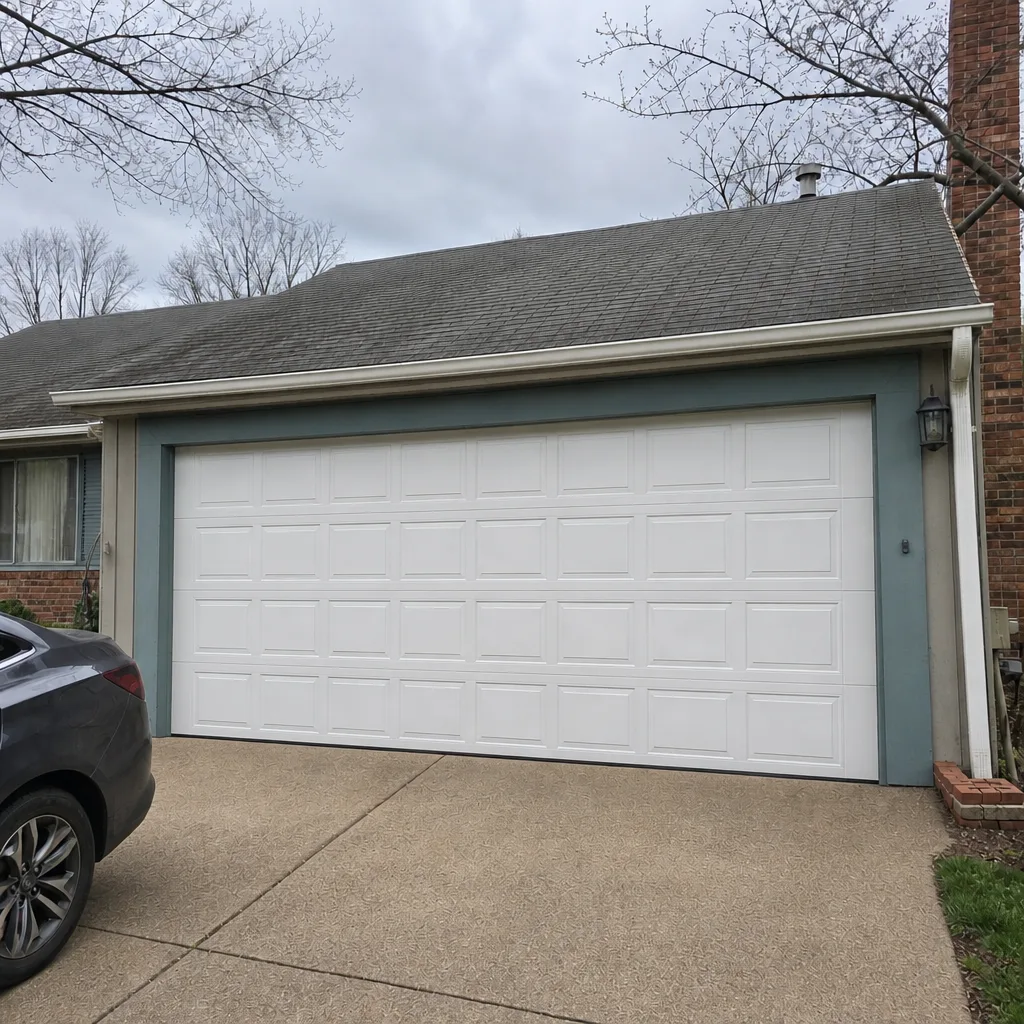 After
 Before
 After
 Before
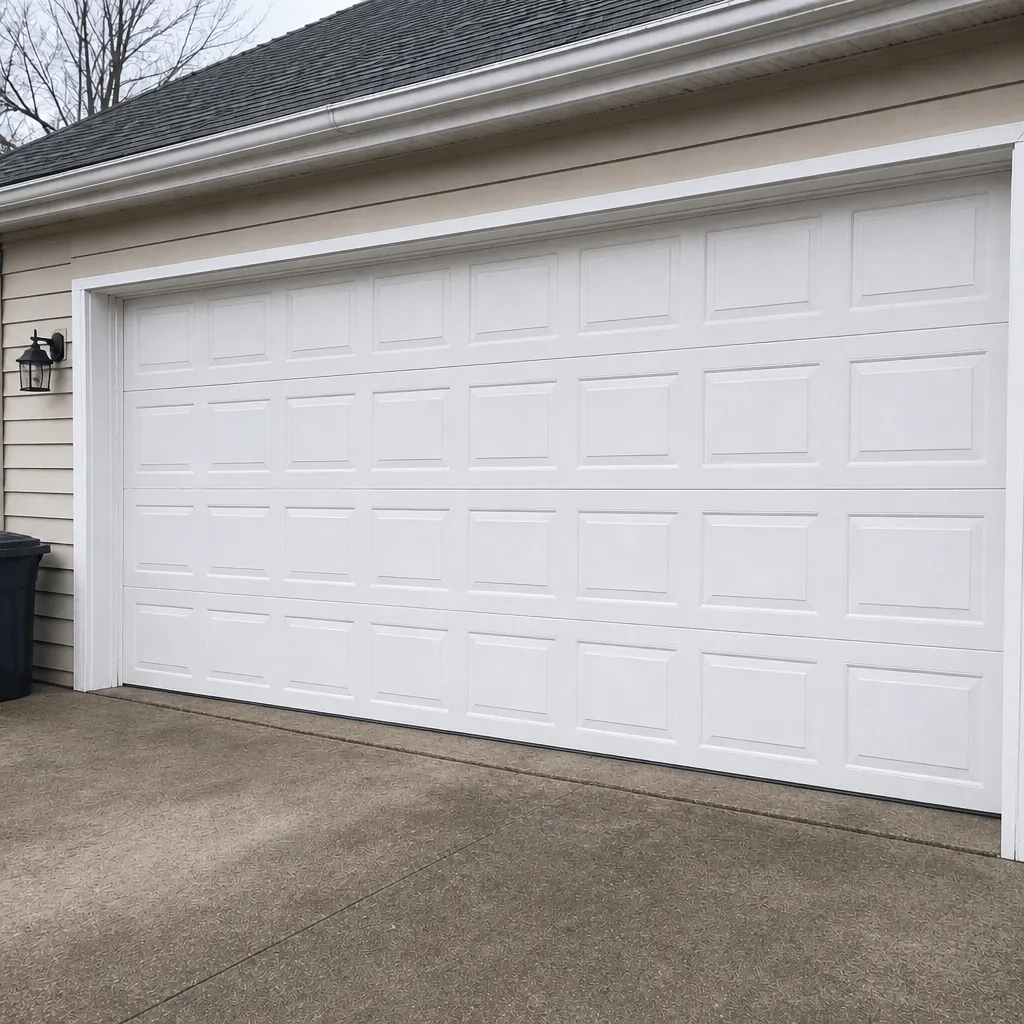 After
When to Call a Professional
Some of this checklist is homeowner territory – visual inspections, seal replacement, lubrication, and the safety-reverse test. Springs, cables, cable drums, track re-plumbing, and any opener electrical work are not. Call a professional if you see a spring at Stage 2 rust or worse, a cable that’s frayed or slack at the drum, a door that drops on one side or hangs crooked, a safety reverse that fails even once, or an opener that’s flashing an error code you can’t clear. Garage doors in Alexandria that show any of those signs shouldn’t be cycled until a technician inspects them. Alexandria Garage Door Repair Pros offers free estimates in Alexandria – call (877) 379-9603.
Frequently Asked Questions
Two full checks a year – one in late fall before the first freeze-thaw cycle and one in late spring before summer heat – plus a quick safety-reverse test at each season change. Alexandria’s clay soil and freeze-thaw pattern make the fall check the most valuable single inspection, because it catches seal and track issues before winter stress makes them worse. Door manufacturers often specify their own cadence, so check the manual for a Raynor or Clopay door as well.
Call (877) 379-9603 for a free estimate if anything on the checklist looks off.
Only if the spring is at early-stage surface rust with no pitting. Once pitting is visible – small granular rust nodules on the coil – adding lubricant traps grit in the pits and can accelerate a coil fracture. Never touch the springs otherwise; torsion springs are under extreme tension and can cause serious injury. Have a technician assess any spring showing pitting before you touch it at all.
Call (877) 379-9603 for a spring assessment.
A door that hangs crooked is almost always a cable drum or track alignment problem, not an opener problem. The drum on one side has slipped or spooled unevenly, or a track has shifted out of plumb from soil settling. Both are cable-system issues and shouldn’t be cycled until inspected – a cable under load can snap. Stop using the door and have it looked at.
Call (877) 379-9603 for same-day inspection.
Usually a misaligned photo-eye, a force setting that’s too low, or a track binding that the opener reads as resistance. Check whether the photo-eyes are aligned (a small LED on each unit should be lit steady), and check the tracks for debris, then re-test. If the door reverses with the beam clear and the tracks clean, the fault is in the opener electronics or force setting and needs diagnostic work. Our garage door opener repair team handles this across Alexandria.
Call (877) 379-9603 for a free estimate.
Yes, on most standard residential doors. Measure the door width, order a matched seal, and slide it into the existing retainer. Right after a freeze-thaw winter, replace the seal at the first sign of cracking – once water gets into the crack, the cycle accelerates. If the retainer is bent or the door’s seal has an unusual profile, that’s a specialist job.
Call (877) 379-9603 if you’re unsure of the seal profile.
If the panels, tracks, and spring system are structurally sound, repair is usually the better call – a spring, cable, or opener replacement on a solid door gets you another full service life. Replacement makes sense when the door has widespread panel damage, when repeated repairs on a single door start adding up faster than a new installation, or when the opener can’t be brought up to modern safety standards. A free estimate will give you a clear picture of both paths.
Call (877) 379-9603 for a free estimate.
The Bottom Line
A maintenance checklist works when it’s timed to the mechanical failure sequence, not the calendar. Springs go first, then opener strain, then cable tension shift, then track misalignment, then seal failure. In Alexandria, add clay-soil settling (which throws tracks out of plumb) and freeze-thaw cycles (which crack bottom seals faster than in milder climates). Inspect springs visually but never touch them, check the cable drums every season, keep grease off the tracks and rollers, and test the safety reverse every season. The parts you can service yourself are simple; the parts you can’t – springs, cables, opener electronics – are the ones that matter most. Our technicians have up to 12 years of experience on the brands already in Alexandria garages, and we work on garage doors only.
Contact
If anything on this checklist needs a second look, call Alexandria Garage Door Repair Pros at (877) 379-9603 for a free estimate. Estimates are free, the price is quoted and agreed before any work starts, and we work on garage doors only – spring repair, opener repair, panel and track repair, installation, and emergency service when a door won’t open or close. When your door won’t open or close, we come now.
Written by the team at Alexandria Garage Door Repair Pros.